Installing a Letsencrypt SSL certificate using Webmin and Apache is incredibly simple. The only requirement is that your server is accessible externally. (NB you can verify using DNS however for the sake of this guide external access is required)
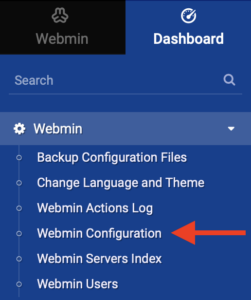
log in into Webmin and navigate to the Menu on the left and select Webmin and then Webmin Configuration.
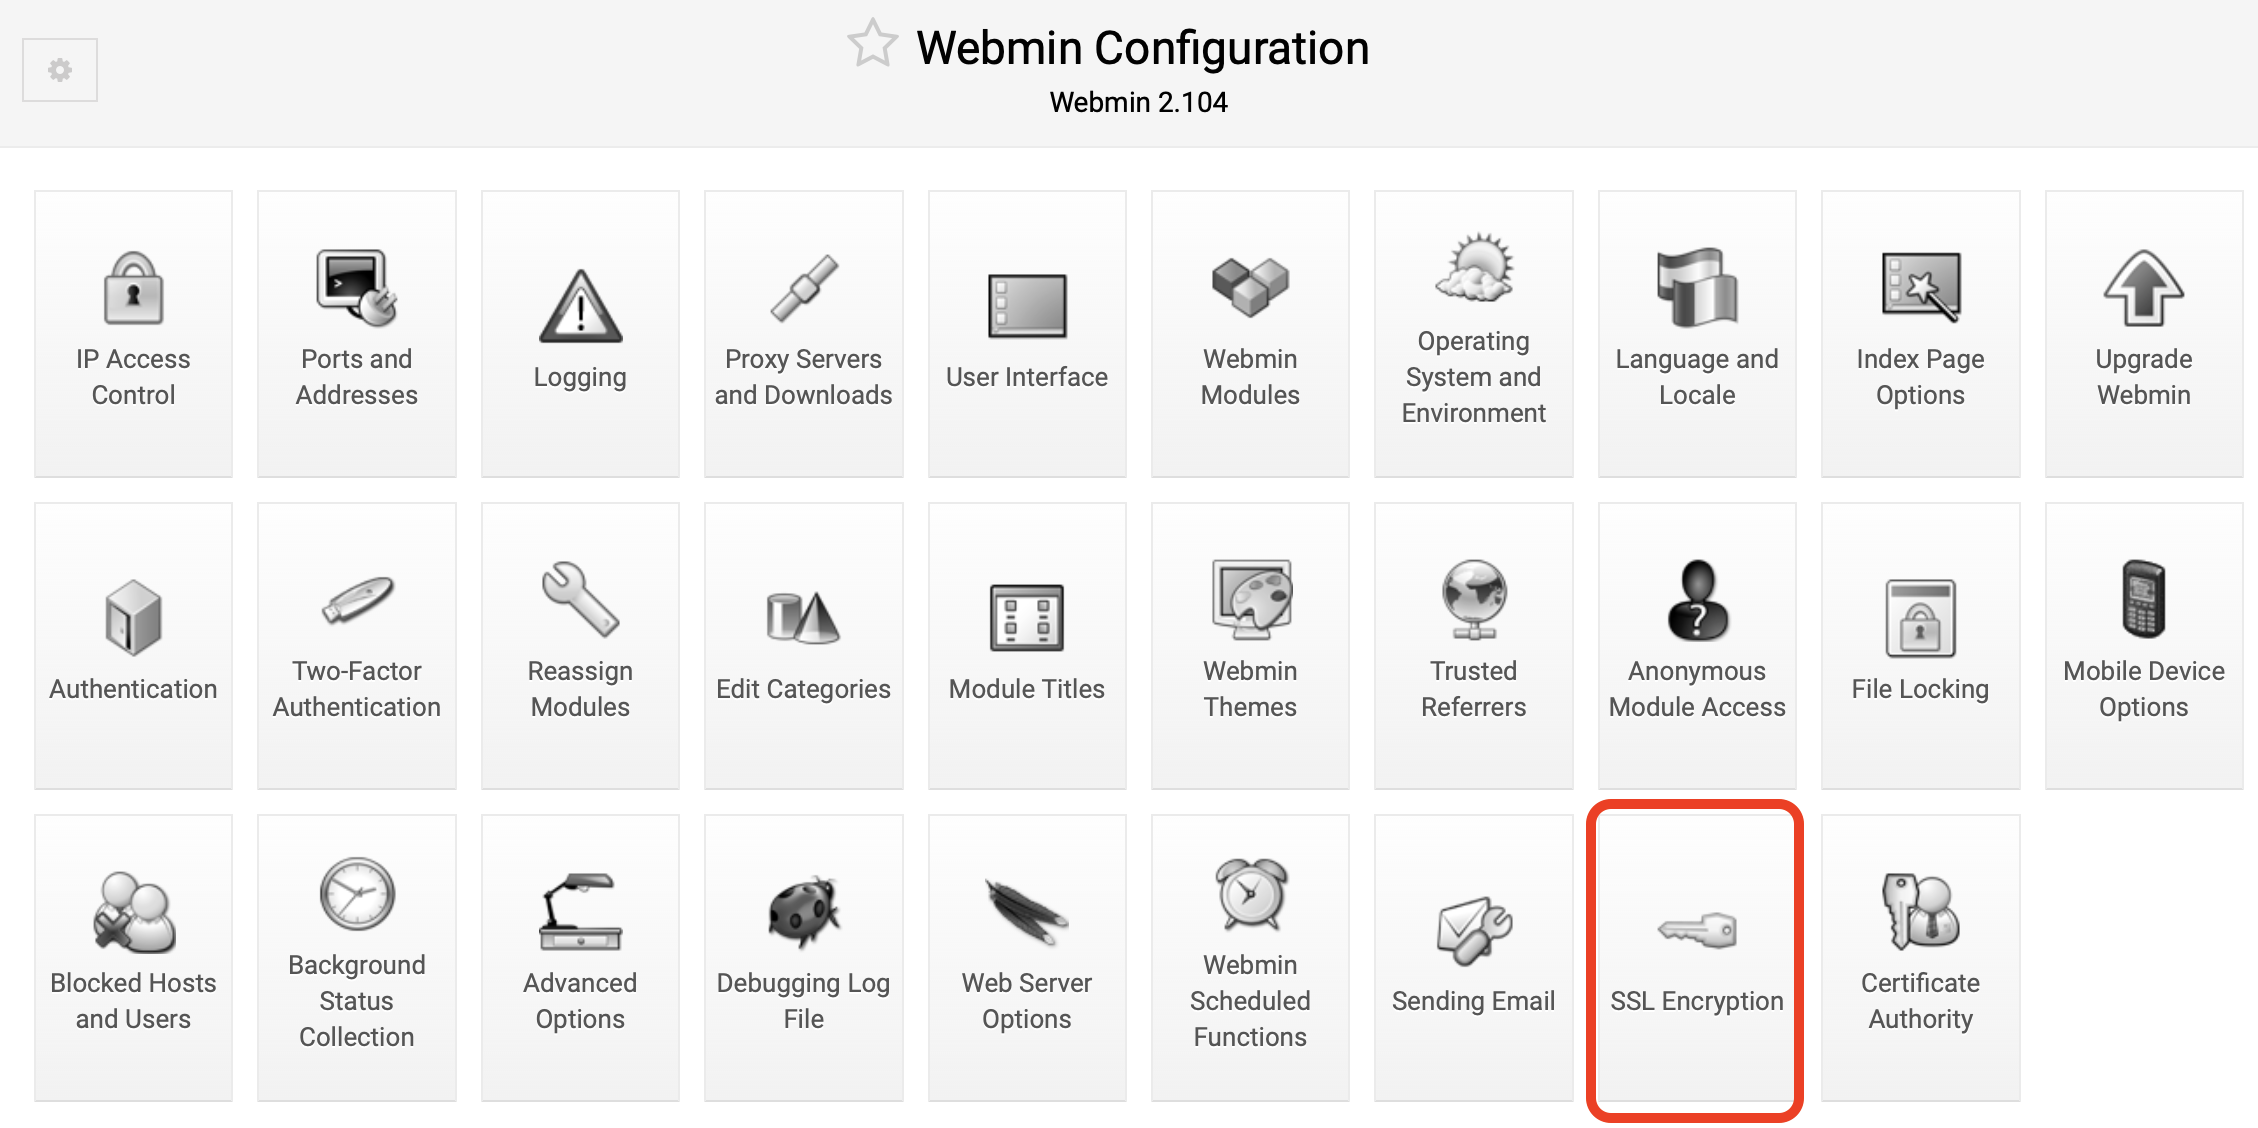
From the options select SSL Encryption
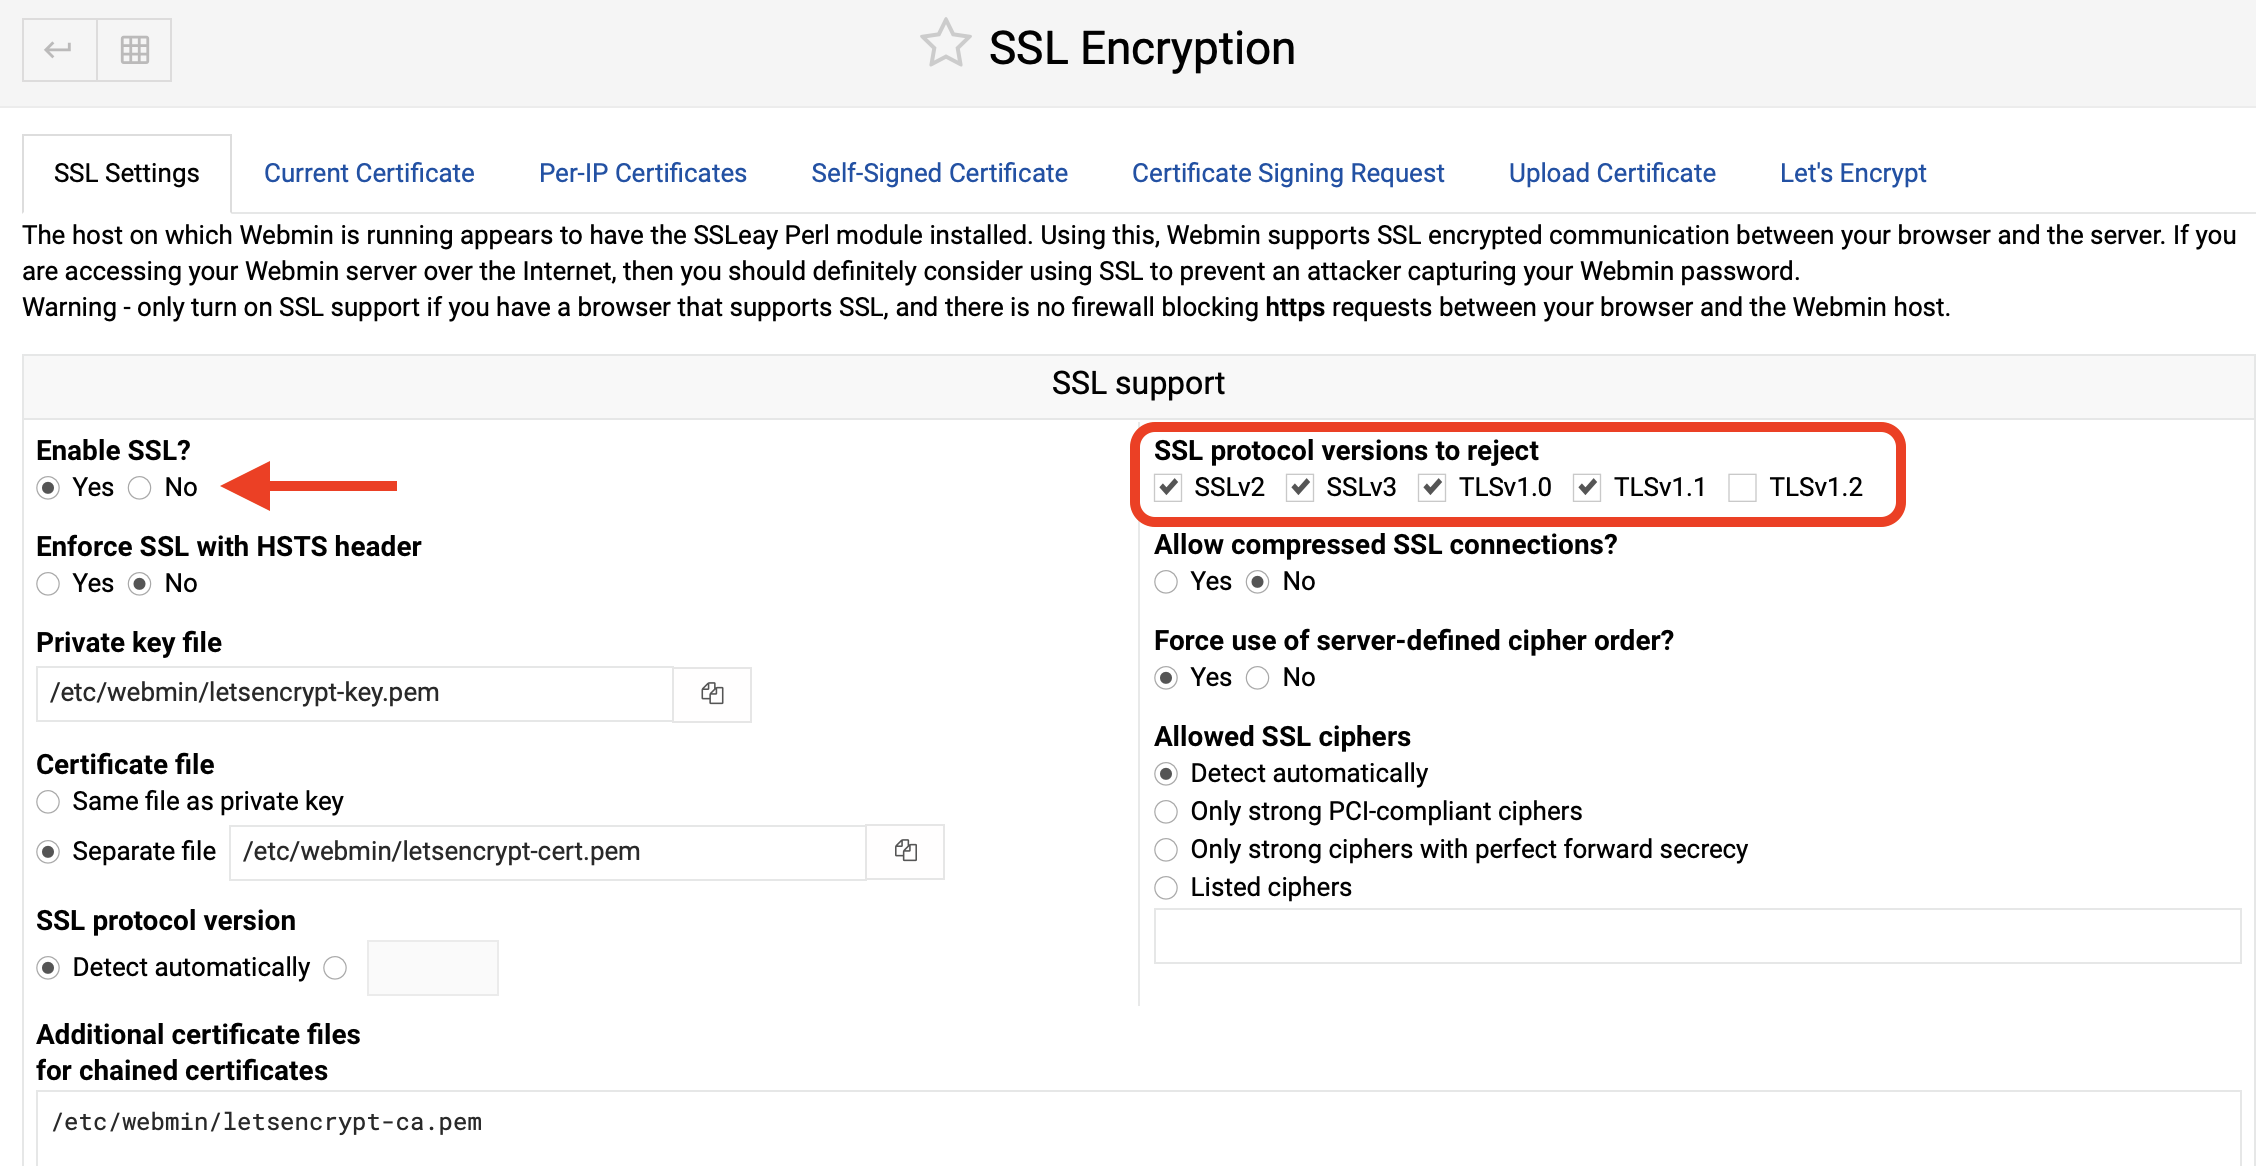
Next under SSL Settings you will need to enable SSL. I also strongly suggest rejecting everything apart from TLSv1.2
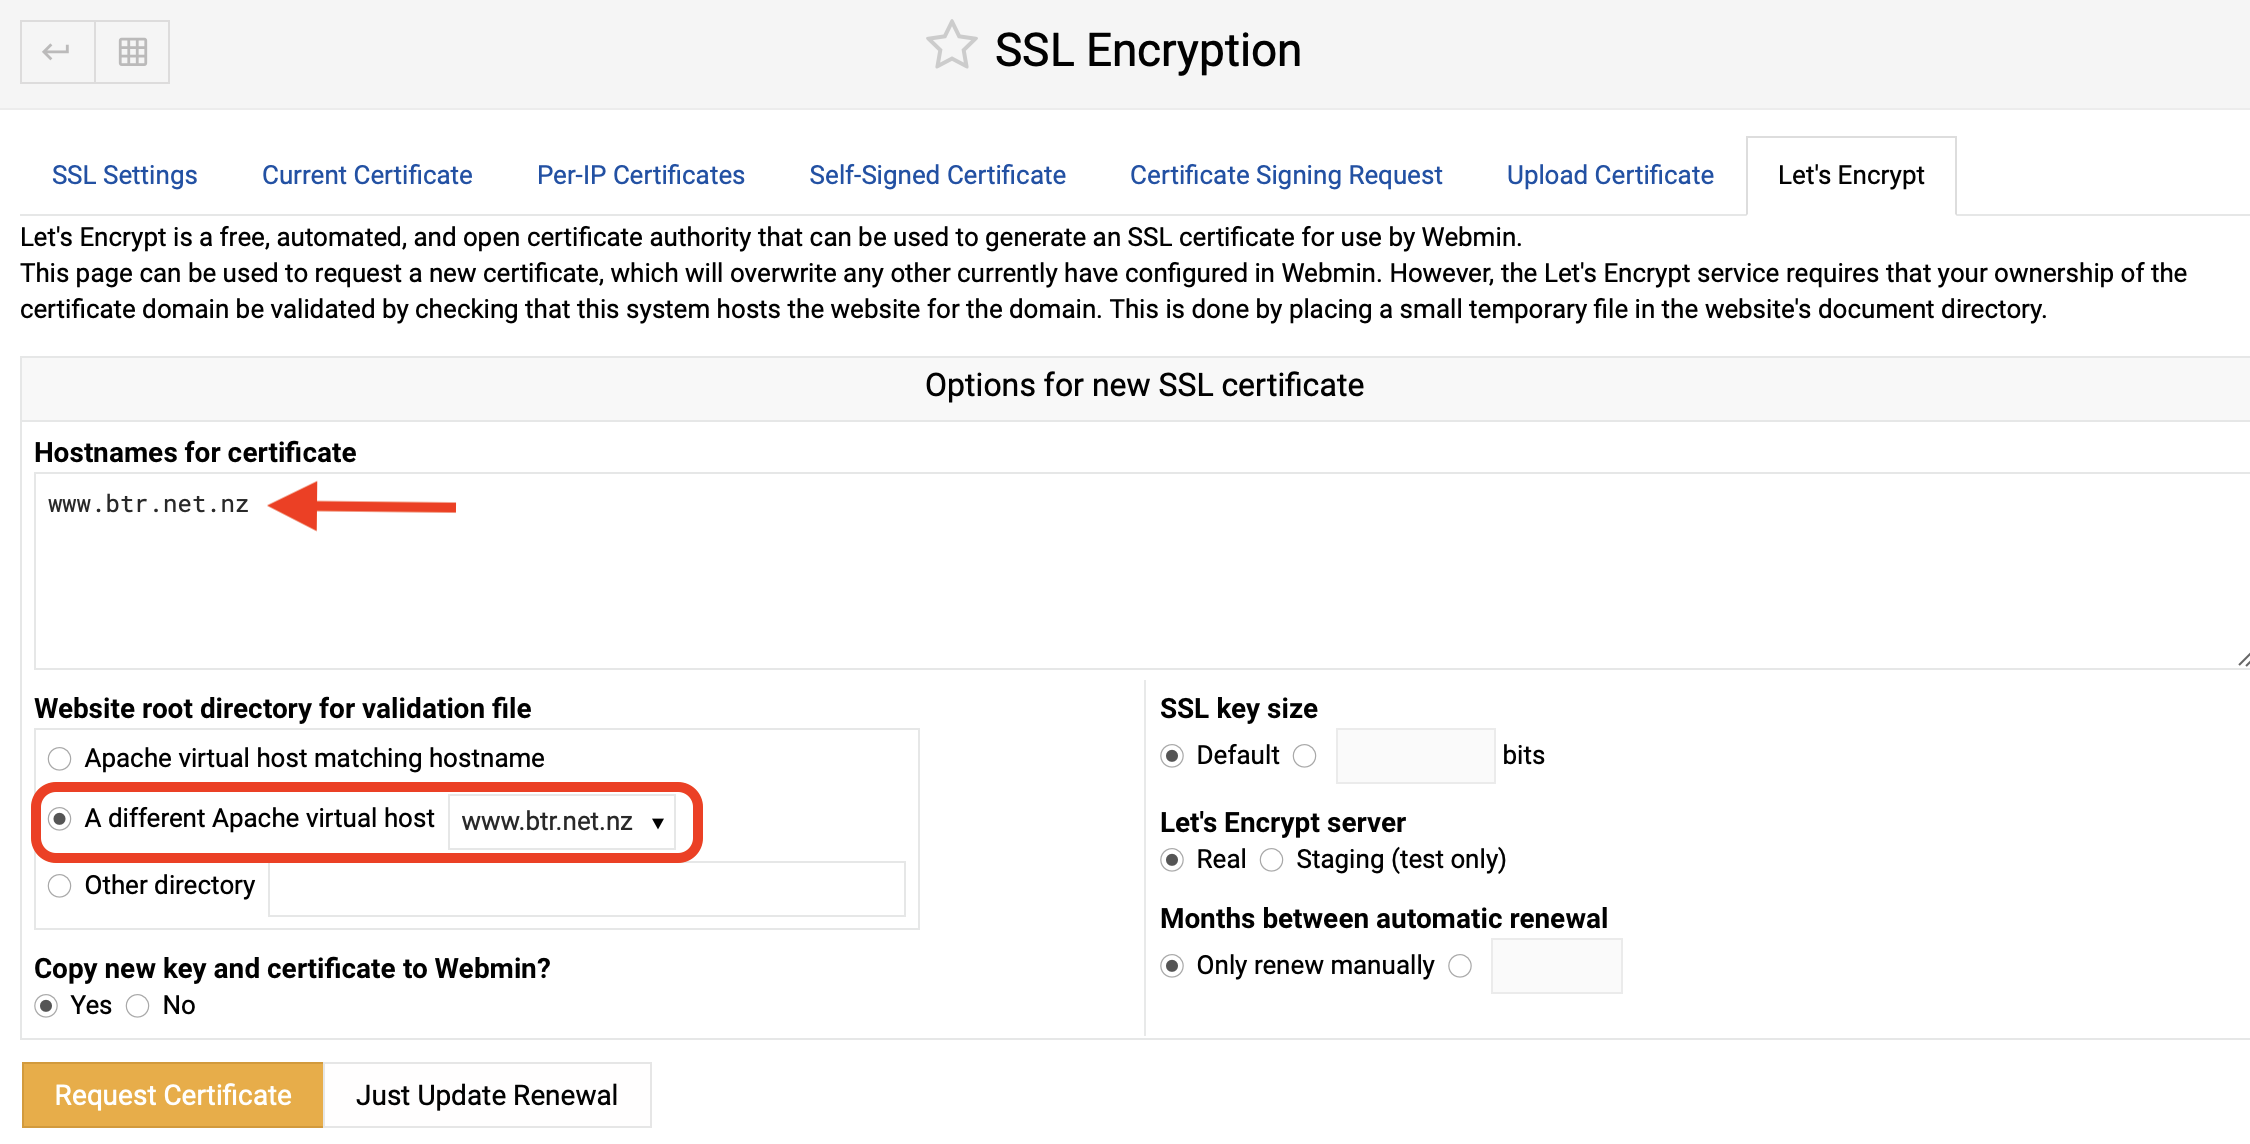
Next browse to the Let’s Encrypt tab and enter in the hostname for the certificate and select the virtual host that the certificate will be protecting. Once you are done press Request Certificate.
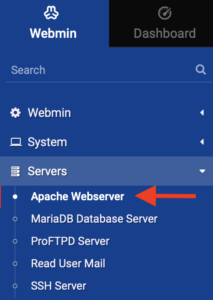
After you have acquired your SSL certificate you need to add it to your virtual host. Using the menu navigate to Servers > Apache Webserver
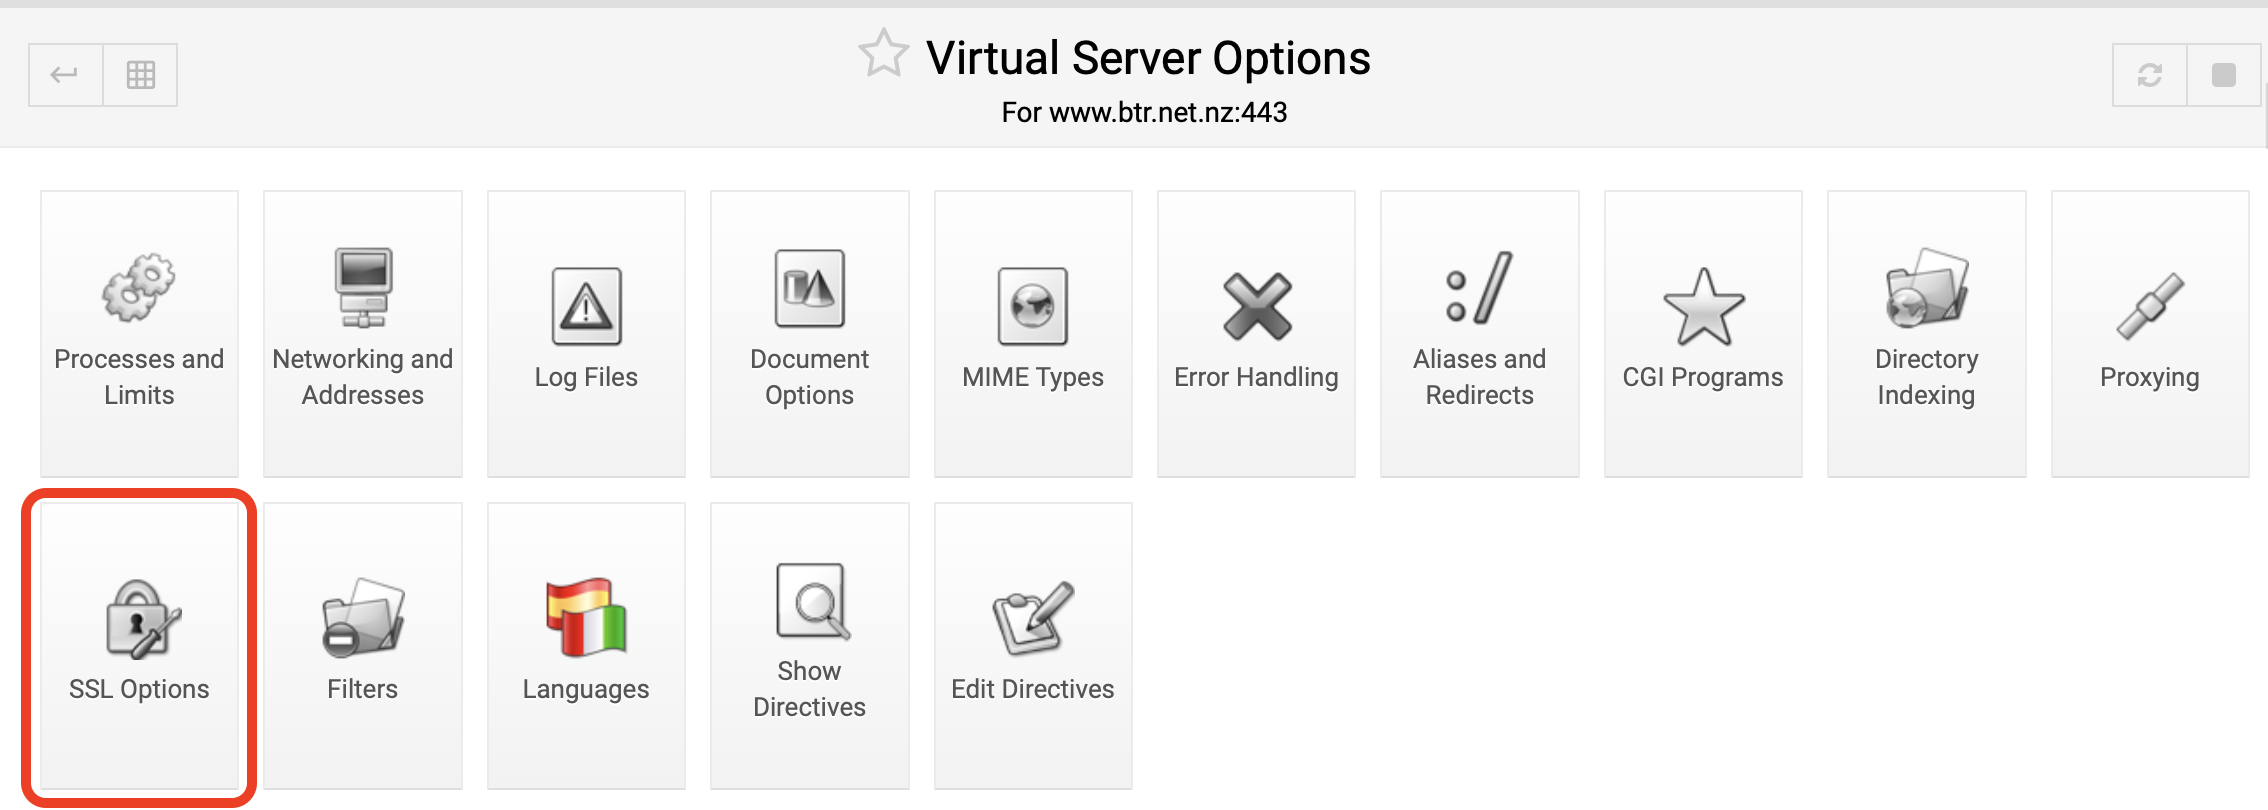
Navigate to the virtual host the certificate is for and select SSL Options
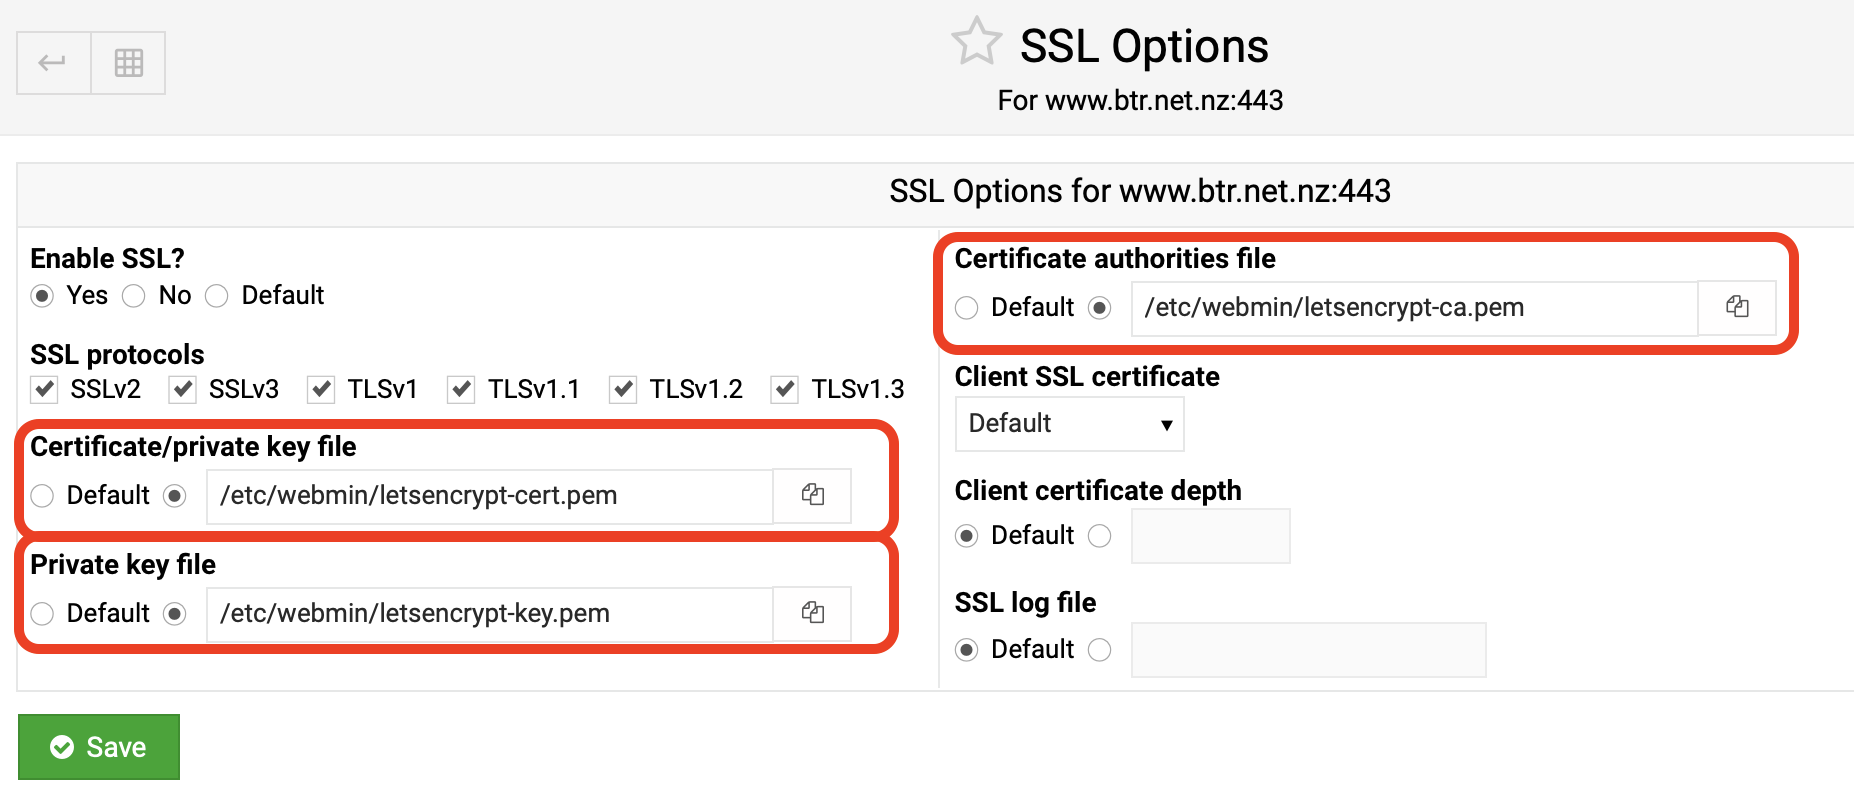
Now you need to specify the path to the certificate, private key and certificate authorities files. Shown below is the default paths & file names. Note you don’t need to adjust the protocols because the settings you chose earlier cover SSL for the entire server.
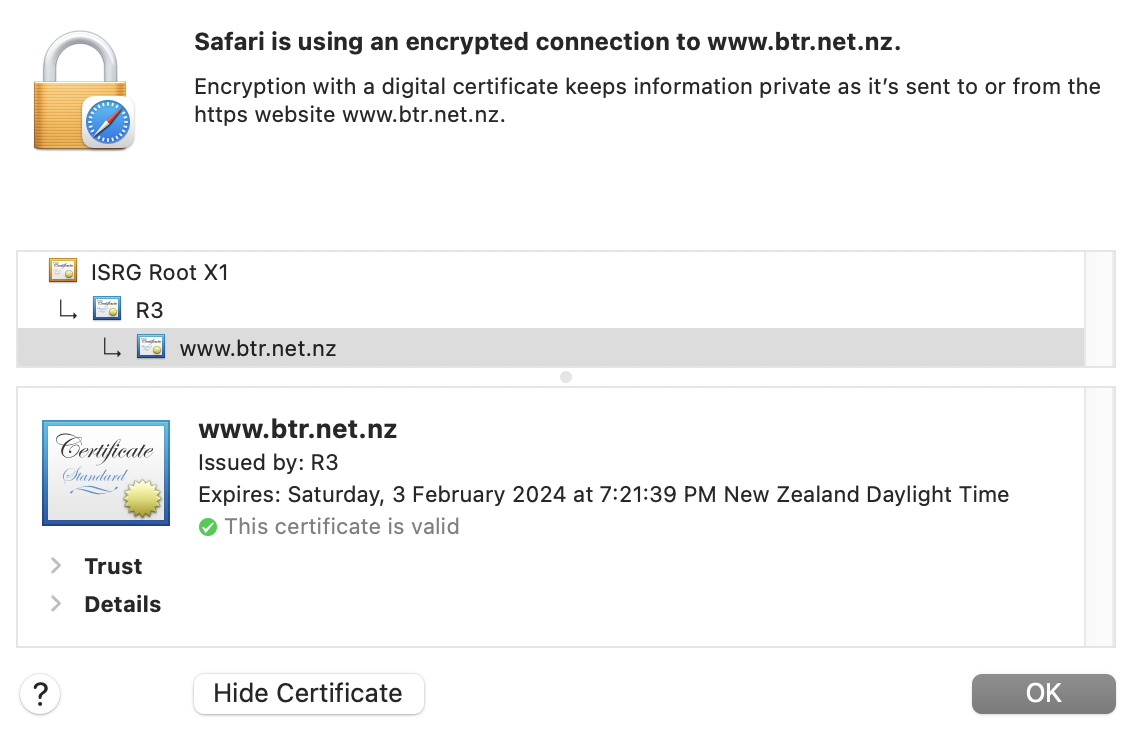
Click apply and then browse to your website to confirm the certificate is working. This certificate will also cover your Webmin interface.